Implement Pixel-by-Tile Movement in Godot
I found an answer in the community portal about grid-based movement, but they’re using tweens to animate. That’s an interesting approach, but I think it’s a bit too much of this modern day technology for my stomach.
Let’s dig out how we old people used to code 2D movement with our own hands. (That’s one tech dependency down, which is always good.)
What is Pixel-by-Tile Movement?
With the SNES as a reference, from that era you had access to these three top-down movement and animation techniques for tilemap based games:
- Tile-by-tile movement. That’s moving on a grid without animations. This is more like how Ultima 1 did it, or how ASCII characters would move on Terminal screens. Collision detection is simple: check all 8 surrounding tiles for obstacles.
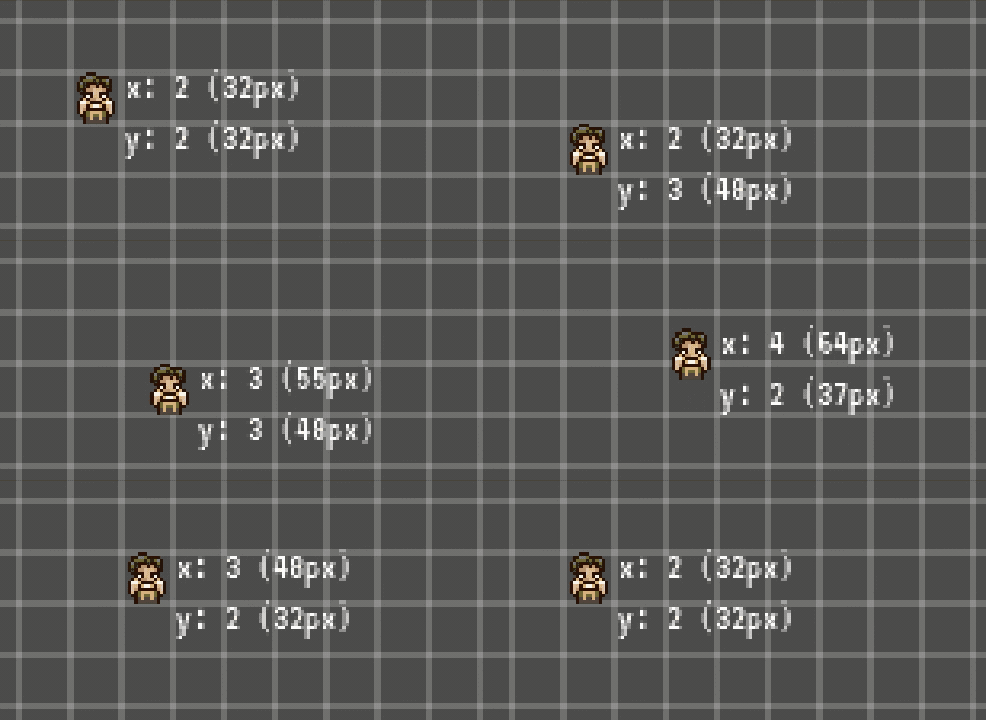
- Pixel-by-tile movement. Characters move on the strict tile grid, but they animate their location changes. You could imagine it like this: each character has a position on the tile map, measured in coordinates like on a board of chess, and its sprite is drawn with a pixel-based offset relative to that position. Collision detection is as simple as before, it just looks prettier. This is the least you could do to make player eyes not hurt. Think Final Fantasy 2–5, or amazing QBasic clones as per ye olde tutorials. It’s what I’ll be showing here.
- Pixel-by-pixel movement. Think Zelda, Secret of Mana, Chrono Trigger, or most action platformers. The world might be created from a tile map, but the player sprite moves smoothly across the screen, often times even supporting diagonal (!!!) movement. Controls feel more responsive because you don’t issue a “move one tile” command and wait for the animation to finish. Instead, as soon as you press, the sprite moves, and as soon as you release the button, the sprite stops. Mind-blowing. But this also makes collision detection more complicated. (That doesn’t matter much in Godot.)
So movement on a tile-based grid with animation of the in-between steps is called “pixel-by-tile movement”. When you look on the web, it’s often referred to as “pixel-by-tile scrolling”, because camera or viewport movement was the most involved.
Restict Player Input and Animation Steps

When you start out with Godot, most tutorials showcase direct player control and pixel-by-pixel movement. To get to tile-based movement, you need to add constraints to the modern Godot engine; that’s a bit awkward at first, I can imagine. It boils down to these simple steps:
- Reject player input while the movement is in progress. Player movement is not direct anymore, but controlled by a simple state machine of a
is_movingcheck. While the player is moving, ignore input; wait for completion of the last move command. - Count your steps. If your grid is 100px wide, and you want smooth movement, move the player 100 times by 1 pixel. If
steps == 100, complete movement by settingis_moving = false. - Compute speed in pixels-per-second. If you want the player to move across the 100px cell in 2 seconds, the speed is
2 / 100 = 0.02. This is real-world time that needs to pass between each step. - Wait for between-step-time to pass. Godot’s engine uses the callbacks
_process(delta: float)and_physics_process(delta: float).deltais measured in fraction of seconds since the last pass. The callbacks are invoked all the time, frame-independently. When we move at a speed of0.02pixels-per-second, we need to time movement to the second. To do that, we accumulate deltas (accumulator += delta) until we reach that threshold (accumulator > 0.02). If we do, animate the next step, move by 1px, and reset the timer (accumulator -= 0.02, to keep the overflow).
Also, scale up your game if needed. I set my sample to a resolution of 320x200, with a window size of 1024x700 (the default) and viewport scaling. This way, you get chunky pixels on screen. Positions are measured in pixels, too. If you don’t do it this way but scale your sprites up by a factor of, say, 10x, then the sprite will appear equally chunky on screen, but you can change its position to what appears to be 1/10th-pixels. It looks buttery smooth, but also not very fitting.
Implementation
Here’s a sample implementation for a tilemap grid of 16x16 pixels:
extends KinematicBody2D

const TILE_SIZE = 16

# Store the last input command's direction.
var direction: Vector2 = Vector2.ZERO

# Speed of movement
var _pixels_per_second: float = 2 * TILE_SIZE
var _step_size: float = 1 / _pixels_per_second

# Accumulator of deltas, aka fractions of seconds, to time movement.
var _step: float = 0

# Count movement progress in distinct integer steps
var _pixels_moved: int = 0

func is_moving() -> bool:
    return self.direction.x != 0 or self.direction.y != 0

func _physics_process(delta: float) -> void:
    if not is_moving(): return

    # delta is measured in fractions of seconds, so for a speed of
    # 4 pixels_per_second, we need to accumulate deltas until we
    # reach 1 / 4 = 0.25
    _step += delta
    if _step < _step_size: return

    # Move a pixel
    _step -= _step_size
    _pixels_moved += 1
    move_and_collide(direction)

    # Complete movement
    if _pixels_moved >= TILE_SIZE:
        direction = Vector2.ZERO
        _pixels_moved = 0
        _step = 0

func _input(event: InputEvent) -> void:
    # Set direction according to user input
You can put the same stuff in _process(delta: float) and use a simple Node2D (or Area2D if you care about collision callbacks). I like to get used to KinematicBody2D so I can use body_entered-based collision callbacks. If your player character is an Area2D, areas on the map would report area_entered, which reads more as if a wood is overlapping with a river than a character entering a zone.