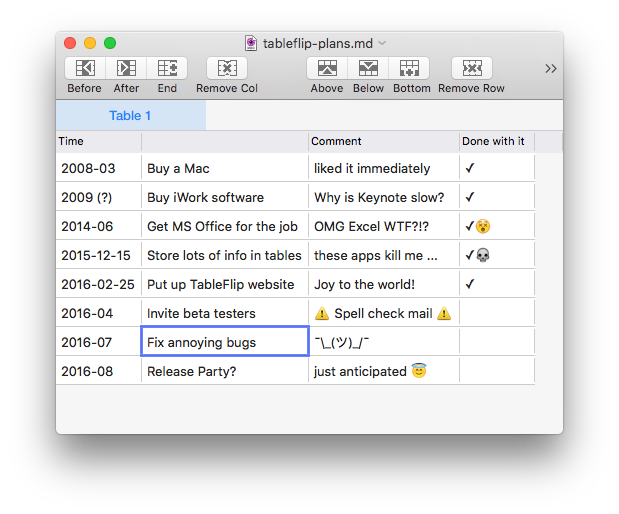
I’ll send out a beta invitation to everybody on the TableFlip Newsletter this week. If you want to help me find quirks in the app and overall make it more usable, this is your chance!
Everyone who reports an issue will get a free license when the beta ends. Also, I’ll invite interested folks in batches, so you may not get your hands on the app this time but maybe in 2 weeks.
Check boxes in AppKit are realized with buttons. The API reads kind of weird, because the NSButton.state property does so many things, so here’s a simple subclass I do sometimes employ: Now it’s easy to use checkbox.isChecked = true. I’d even consider check() and uncheck() commands if I used this in many places to reduce the noise and clarify what’s going on further, maybe.
The location of a piece of code always matters. I was fiddling with the Charts library today and found out that if you set a chart’s data to nil, it renders some informative text by default. My data source doesn’t pass nil but an empty array around, though, so I had to convert empty arrays to nil to make use of this feature.
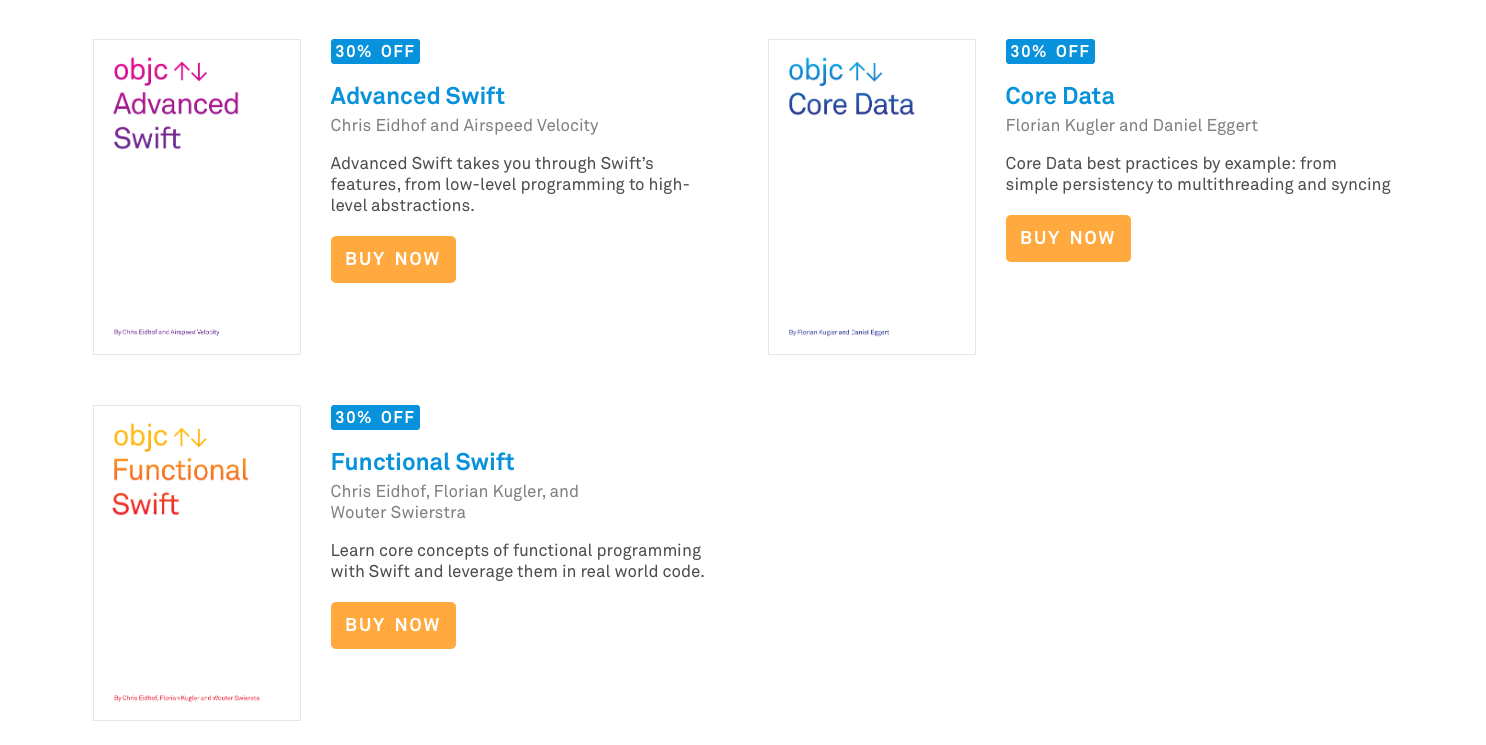
All 3 amazingly useful objc.io books are 30% off this week. Grab all three of them in a bundle and save even more.
If you use my link, I’ll even get a small kickback thanks to their affiliate program. I wholeheartedly recommend you take at least the time to read the samples. The team updates their ebooks regularly, and you’ll get a Swift 3.0 edition later this year, too.
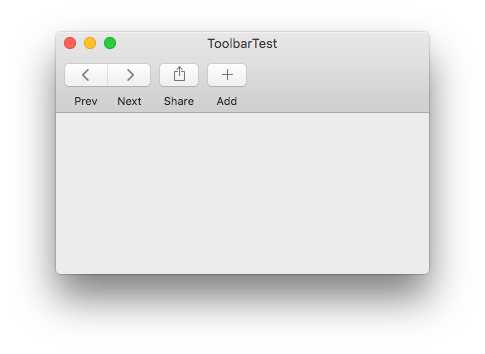
This post is part of a series on getting NSSegmentedControl to work in your toolbars. Earlier this week I posted how to create a segmented toolbar item with 1 label for each segment. Now some options in TableFlip depend on context: without a selected cell, you cannot remove the selection, for example. So I disabled some segments and it looked alright:
Ever wondered how Apple Mail’s NSToolbar achieves the effect of individually labeled buttons shown in groups? Update 2018-11-23: I discovered a flaw in the target–action-mechanism of NSToolbarItems. They don’t fire if the label is hidden. This post’s approach is still valid enough, but is now part of a series of posts on the topic, with the 3rd one providing a fix:
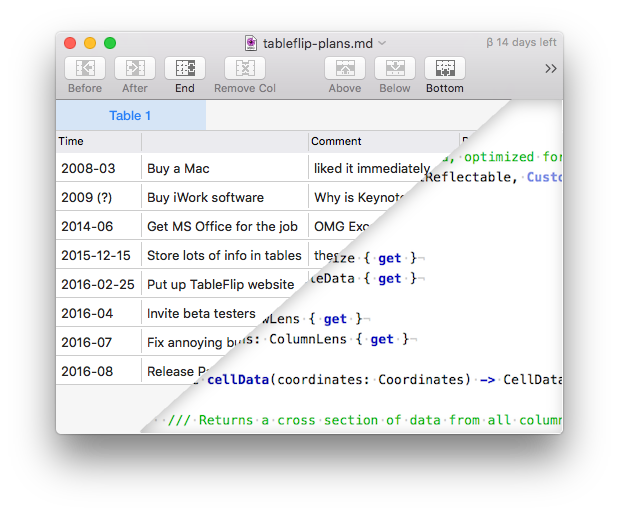
Now that TableFlip is nearing completion, I want to share details of how I created this piece of software with you. Today, I’ll start with the bigger picture: the application architecture. Earlier this year, I got to know ReSwift from a talk by Benjamin Encz which I loved.
When parameter lists grow or two kinds of parameters seem to go together a lot, it’s time use the extract parameter object refactoring for greater good – then you can even specify sensible defaults.
This is a typical way to pass a set of options to an objects during initialization in a language like Swift. In languages like JavaScript or Ruby, dictionaries of key–value pairs can work just as well. Using dictionaries in Swift for this can be a pain, though.
Now Soroush wrote about a way that uses the Then microframework as a replacement for configuaration dictionaries. This way you don’t have to promote every property to the initializer’s list of parameters. Here’s a before and after, where you can see that without then you have to write a lot of repeating boilerplate:
That’s a Swift alternative to Ruby’s hash-based option initializers. There, the dictionary’s key is used as the setter’s name which is then invoked like so:
Understanding Uncle Bob’s Principles of Object-Oriented Design (which resulted in the SOLID principles) is super important to really grasp the use of design patterns (like MVVM) and architectural patterns (like VIPER). It’s like the grammar for crafting proper object-oriented software.
And now here’s the good news: there is a Swift playground (and Markdown file to read online) that illustrates all the principles by Uncle Bob: The Principles of OOD in Swift 2.2
Check it out, take notes, and keep the principles close to your heart. They may save your life someday.